When using a Huvitz edger to process lenses, occasionally, you may experience discrepancies in lens size. This issue can arise from various causes, but in most cases, it can be resolved by recalibrating the edger. Therefore, it’s a good idea to perform a self-check before requesting after-sales service!
If you encounter lens size discrepancies while using a Huvitz edger, check the following items and resolve the issue easily!
-Check-
Why Size Errors Occur?
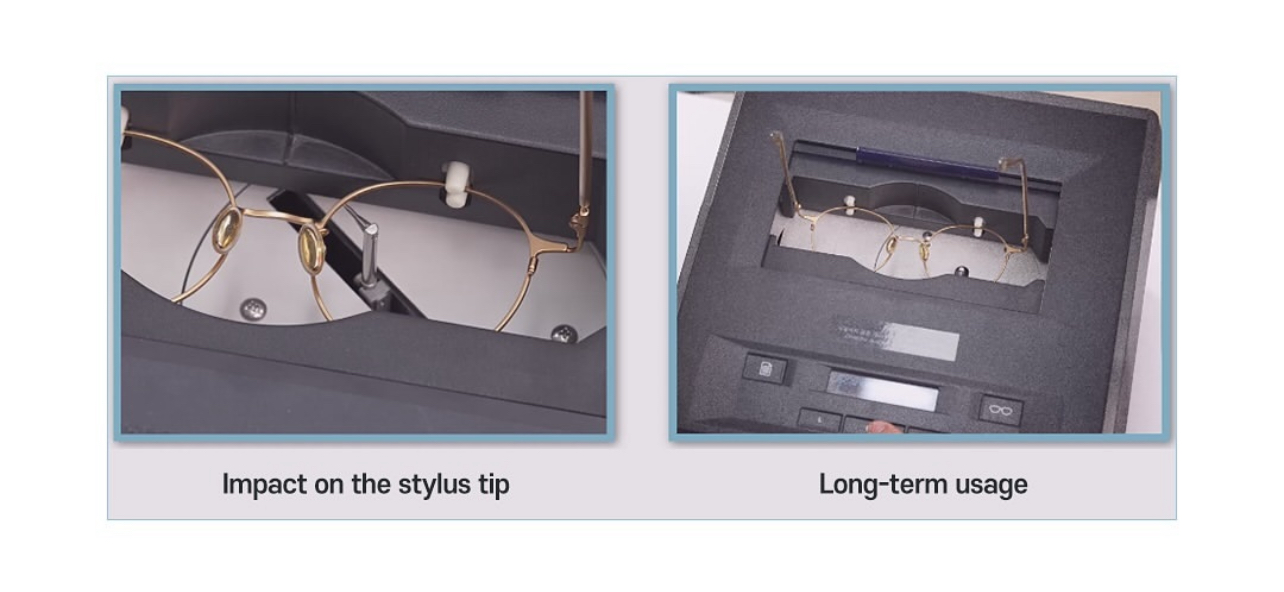
If the lens size is processed larger or smaller than the set value, it’s likely due to the tracer misreading the frame information. The stylus tip of the tracer may have been impacted by shock or, over time, may have lost its accuracy, which can lead to errors. Therefore, it’s a good idea to check the condition of the tracer to find the cause of the size discrepancy.
How to check the condition of the tracer.
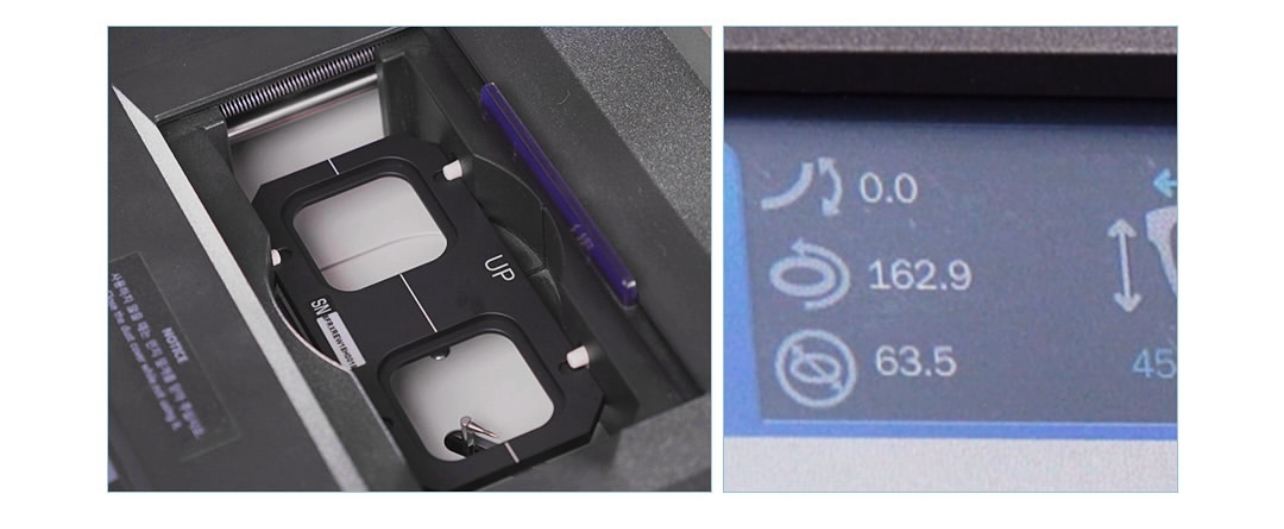
“After inserting a standard frame into the tracer and reading the size, if the size value differs by ±0.1 from the reference of 162.8, it indicates that calibration is required. If the difference is ±0.1, please follow the instructions below to proceed with the tracer calibration (reset).”
How to Calibrate the Tracer
Tracer calibration should be done in 3 steps.
Please follow this order: Stroke > Frame > Pattern calibration.
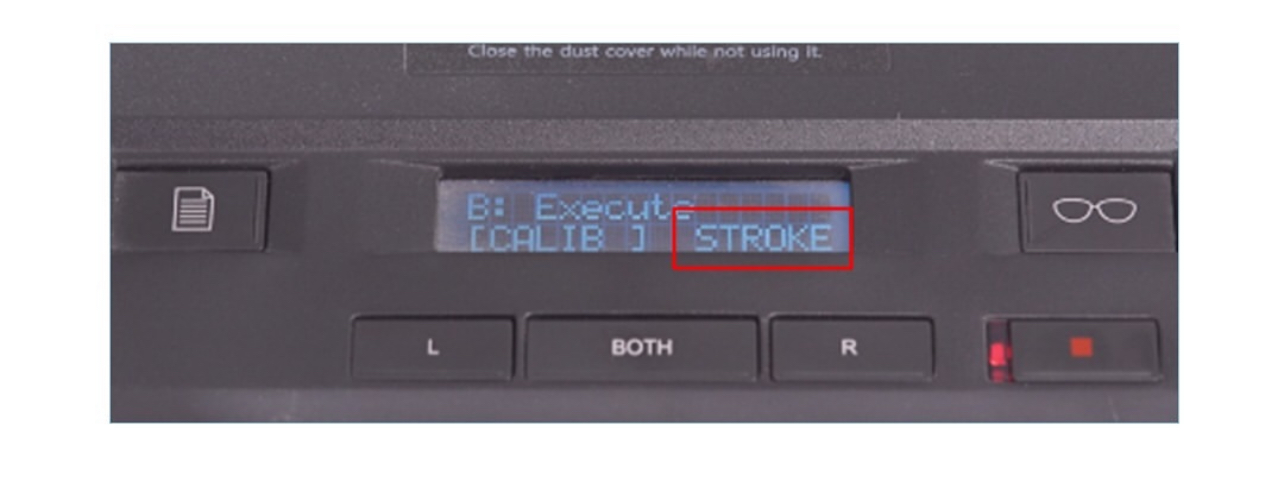
[Step 1] How to Perform Stroke Calibration
- Insert the standard frame into the tracer.
- Press the menu button twice.
- Press the B button under CALIB.
- Select the type using the FRAME button.
- When STROKE appears, press the B button.
- When BEGIN appears, press the B button.
- Calibration is complete.
The tracer’s stroke will move up, down, left, and right to complete the stroke calibration.
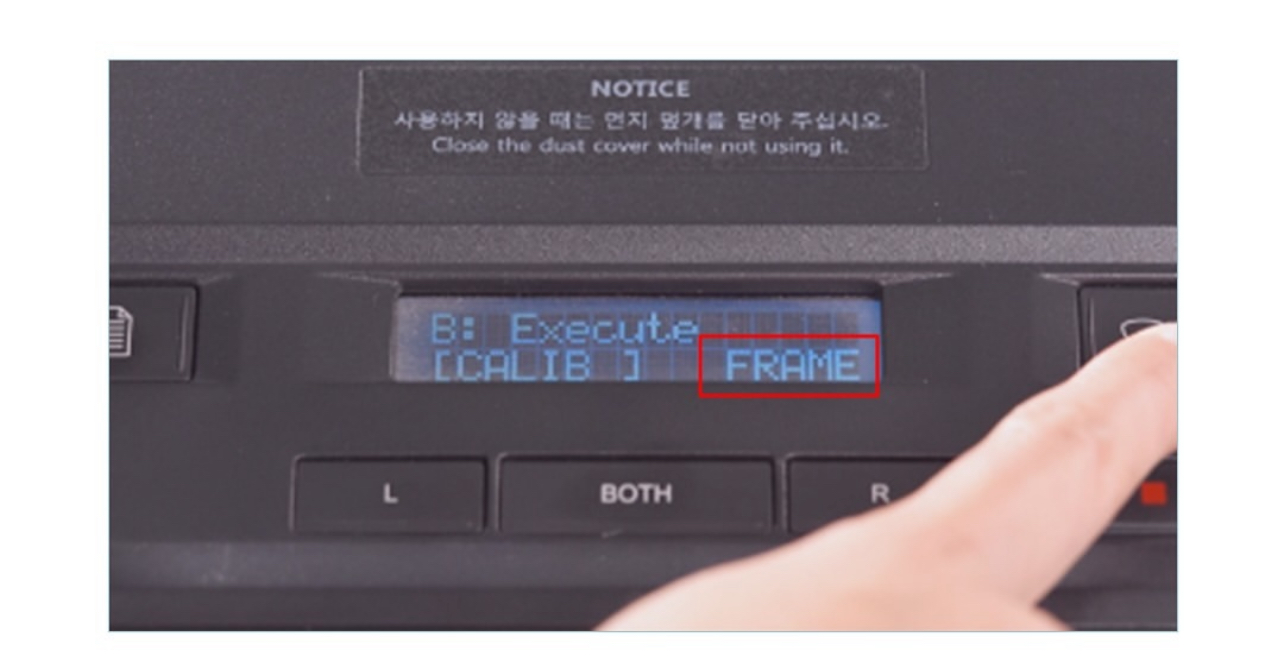
[Step 2] How to Perform Frame Calibration
- Select the type using the FRAME button.
- When FRAME appears, press the B button.
- When BEGIN appears, press the B button.
- Calibration complete.
Pressing the B button will start the frame initialization, which takes about 5-10 minutes.
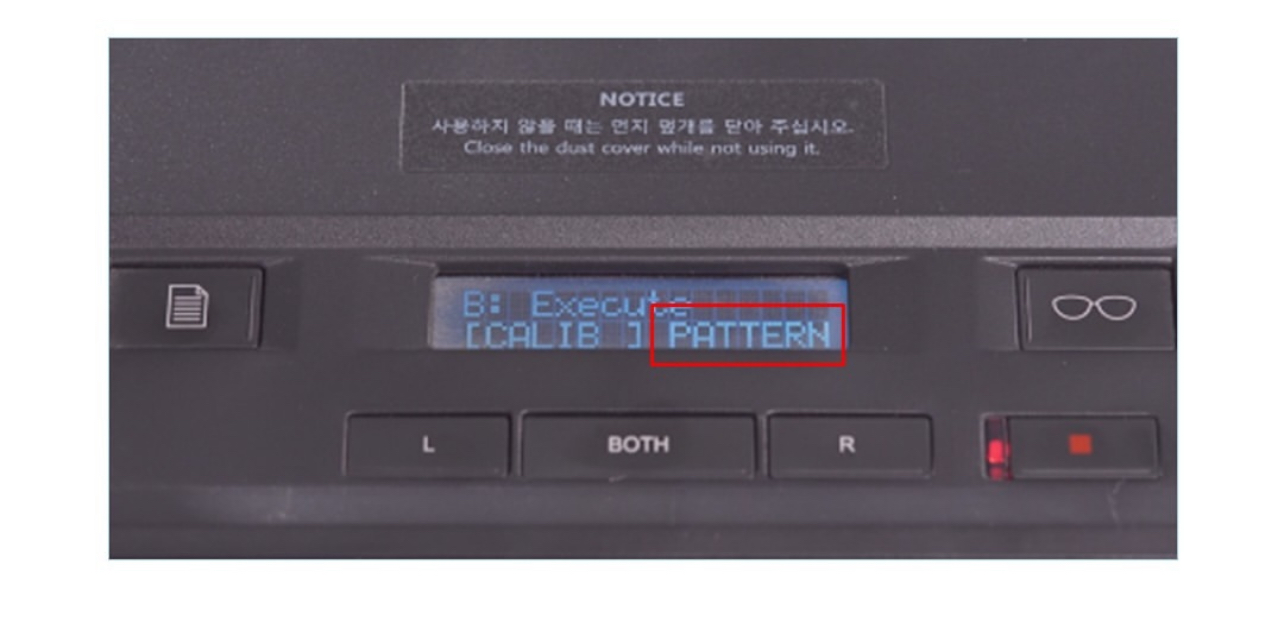
[Step 3] How to Perform Pattern Calibration
1) Attach the pattern frame.
2) Select the type using the FRAME button.
3) When FRAME appears, press the B button.
4) When BEGIN appears, press the B button.
5) Calibration complete.
By following these steps, the 3-step calibration (initialization) will be completed. After all calibrations are finished, make sure to re-read the standard frame with the tracer to check if the size value is correct. If the size value is 162.8, then the calibration has been successfully completed.
If the size value still does not show as 162.8 after calibration, please contact Huvitz’s AS expert team for assistance!
In addition to the lens size discrepancy mentioned earlier, if the tracer cannot find the groove height of the frame or if the pattern’s axis has been deformed, performing the tracer calibration as described earlier should help you resume smooth processing. For a more detailed video on calibration related to size discrepancies in the edger, please refer to the video below!
#Huvitz #HuvitzEdger #Tracer #Calibration #Eyewear
